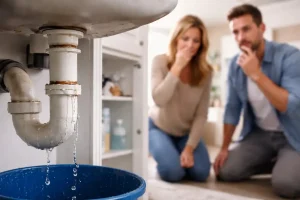
A sudden leak or burst in your plumbing can turn a calm day into a stressful ordeal. When a water pipe breaks, it doesn’t just cause minor inconvenience; it can lead to serious water damage, mold growth, and even structural issues if not addressed promptly.
That’s why knowing how to handle busted water pipe repair quickly and efficiently is essential for every homeowner. Acting fast can save you not only money but also the frustration of dealing with prolonged damage.
Understanding the causes of a busted pipe is the first step in effective repair. Pipes can burst due to freezing temperatures, high water pressure, or simply age and wear. Regardless of the cause, the key is to respond immediately. Professional busted water pipe repair often begins with shutting off the main water supply, assessing the damage, and determining whether a temporary fix or a full replacement is needed. Being prepared with basic knowledge can make this process smoother and reduce the risk of worsening the situation.
Many homeowners wonder whether they can tackle busted water pipe repair on their own. While small leaks might be manageable with temporary solutions like pipe clamps or epoxy, major bursts usually require expert attention. Prompt action is crucial because water spreads quickly, affecting floors, walls, and personal belongings. The faster you identify and repair the issue, the lower the chance of extensive damage and costly repairs down the line.
Taking preventive steps after a repair is just as important as the repair itself. Regular inspections, insulating vulnerable pipes, and monitoring water pressure can help prevent future incidents. By understanding the urgency and proper steps involved in busted water pipe repair, homeowners can handle emergencies calmly and efficiently, ensuring their home remains safe and dry. Let’s check step-by-step tips to tackle busted water pipe repair effectively.
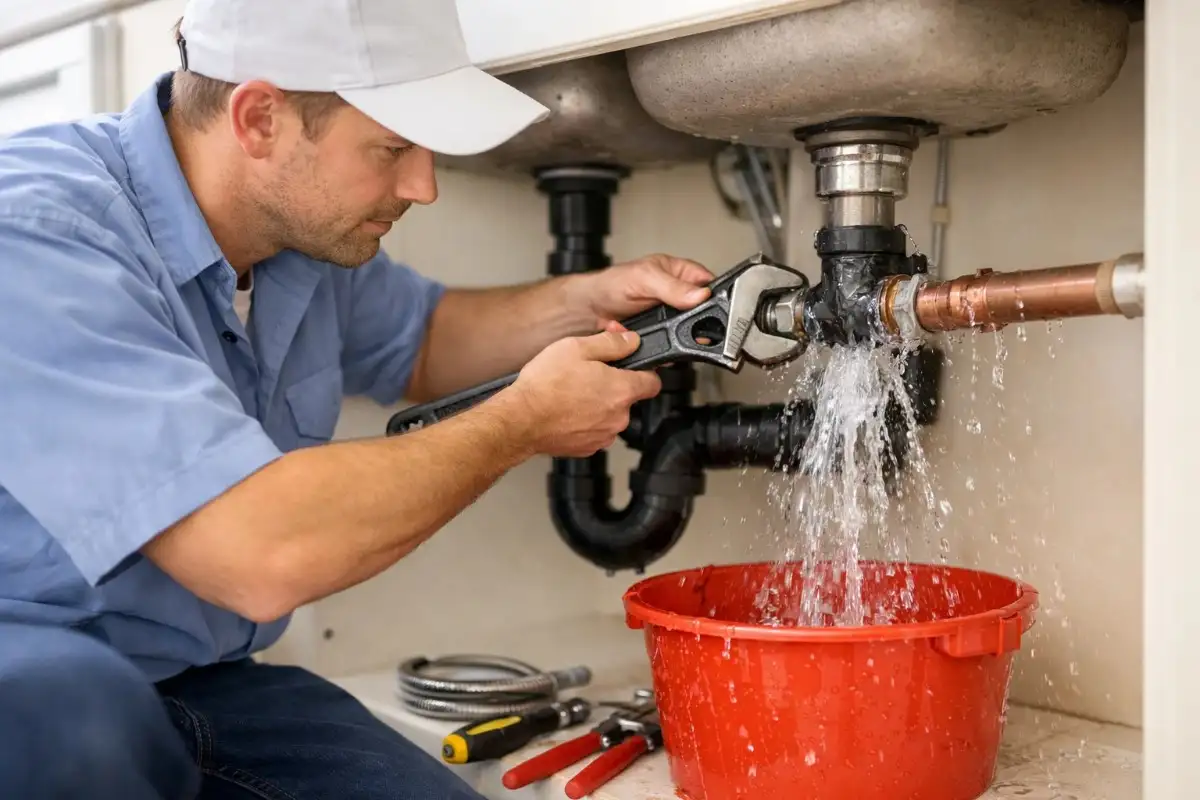
1. First Things First: Stop the Leak & Stay Safe
Water’s gushing immediately! Shut off your water supply now. Locate the main water valve (usually under the kitchen sink or where the pipe enters the house) and turn it off immediately, even if you’re not completely sure it’s the source.
This stops more water from flooding out. Next, open all faucets, hot and cold, to drain the system of leftover water. Flush all toilets a few times to clear extra water from the pipes. Once the immediate risk is under control, call a professional for busted water pipe repair to fix the damage properly.
Next, unplug or turn off electrical power in the wet zone. Yeah, pipes can carry an earth wire, so cutting them can shock you. In fact, SafeWork Australia warns that cutting a metal water pipe can give a fatal electric shock if it happens to be ‘live.’ So treat it like live wires: shut down power before you do any slicing, patching, or busted water pipe repair. Safety first.
With water off and power off, grab towels or a mop and soak up the worst of it to slow damage. Crack open windows or set up fans if you have them. Drying the area now can prevent mould from moving in: if moisture lingers, mould spores can sprout in just a few days. The quicker you air it out, the better.
While you’re at it, check what kind of pipe burst. Is it copper, PVC, PEX, or an old poly pipe? How big is the hole or crack? A small crack is obviously easier to manage than a full-on pipe explosion. But no matter what, the next step is to try a quick patch to buy time.
2. Quick DIY Fixes (Rubber, Tape & All That)
Alright, the scene’s set; you’ve turned off the water. Now let’s improvise a band-aid. There are a few tricks you (and your hardware store!) might have up your sleeve:
- Rubber & Clamp: A classic hack for busted water pipe repair is to wrap the leaky spot with a piece of rubber (an old inner tube or a slice of bicycle tire) and secure it with hose clamps or a tough hose clip. The rubber seals over the hole; the clamp squeezes it tight. This can stop a slow drip or small crack, at least for a while. (Plumbers do this on the job.) It’s not glamorous, but it works in a pinch.
- Plumber’s Tape or Leak-Sealing Tape: Waterproof repair tapes exist that self-amalgamate when stretched around a pipe. Wrap several layers tightly over the leak. These tapes become a solid sleeve once cured, often handling surprisingly high pressure. Commercial pipe repair tape is made for this; think of it like super-strong electrical tape for water.
- Epoxy or Putty: You’ll find two-part epoxy putty sticks at any hardware store. Knead and press the putty onto the leak; it hardens in minutes into a durable patch. (Just make sure the pipe is dry before applying, or follow the product instructions. Drips vs gushes may affect which solution holds.)
- Pipe Repair Clamps: There are specialty quick-fix kits that combine a rubber gasket and a metal clamp around the pipe. These clamp around the crack and squeeze it shut. They’re a bit more professional-looking and sturdy than tape.
These fixes are temporary; think of them as keeping the leak from becoming Niagara while you figure out the next move. If the hole is huge or the pipe is old and crumbling, these might not hold long; treat them as a short-term solution.
As one Aussie plumbing expert advises, “For small-scale damage you can try using commercial tapes or bonding agents… but if the burst pipe is really not in good shape, it’s best to call a professional.”
Put on a rubber glove, slap on some tape or epoxy, and tighten the clamp. It might feel a bit Frankenstein, but it can give you hours of relief. Keep an eye on your patch though (literally): inspect it to make sure it’s not slipping or leaking more. If it lets go, just reapply quickly. The goal is to stop the flow NOW any quick fix that prevents further flooding is a win, even if it’s ugly.
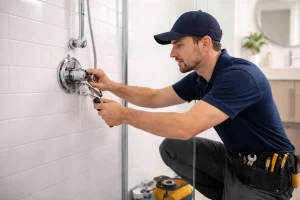
3. When to Call the Cavalry: Licensed Plumbers & Pros
Okay, you’ve slowed the bleeding. Now, how do you decide whether to tackle a permanent repair or wave the white flag and call in a pro? In Tasmania (and all of Australia), serious plumbing work requires a licensed plumber. If the pipe is part of your home’s water mains or if you’re replacing a heater or rerouting plumbing, the law basically says “let a pro handle it.”
In fact, licensed Tasmanian regulations note that any repair or replacement of a hot water system or water supply line must be done by a professional. Even for “like-for-like” water heater swaps, a licensed plumber’s certificate is a must. It sounds bureaucratic, but it’s for your protection.
Some jobs you can legally DIY (small things like changing a showerhead or fixing a dripping tap), but any fix that touches the main pipes or gas lines is a no-go. As a Melbourne plumber blog bluntly puts it, “When to dial the plumber: burst pipes, persistent leaks, or any work touching the main water/sewer lines”. Also on the list: installing new hot water units, putting in new sinks/toilets, or altering roof drainage on the property.
So, when exactly should you call? Here’s the short list:
- If the leak or break is on the main service line (any pipe bigger than your kitchen faucet supply). This includes underground or slab pipes.
- If beyond a quick patch, especially if water keeps gushing or the patch fails.
- If the pipe material is unfamiliar or corroded (think old metal pipes).
- If you suspect the burst caused structural damage (wet walls, foundation).
- This applies if it involves removing a water meter or turning the electricity back on due to the shock risk.
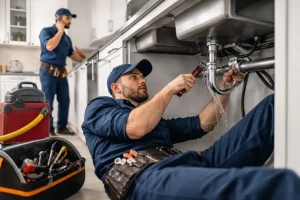
Got an emergency at 3AM? Many plumbers offer 24/7 emergency plumbing services in Tasmania, and yes, they’ll charge a premium. But after-hours pros will rush over with gear to stop the leak in its tracks. It sounds like an extra cost, but as one expert notes, an on-call plumber can “stop damage fast” and prevent a catastrophic flood. Frankly, it’s often worth it.
Even if you intend to fix it yourself, it can’t hurt to ping a local licensed plumber for advice. Some companies (like private TAS plumbing services) might even talk you through a quick fix on the phone.
Table: Repair Methods at a Glance
|
Method |
Pros |
Cons |
Use When |
|
Plumber’s Tape/Wrap |
Cheap, quick, no tools needed | Short-term only, messy | Small cracks or slow drips |
| Epoxy Putty | Cures hard & durable | Requires clean/dry surface |
Medium leaks, when clamps aren’t enough |
|
Rubber Sleeve + Clamp |
Strong, reusable | Requires clamp, some prep | Pipe diameter fixed, moderate leaks |
| Pipe Repair Clamp Kit | Designed for leaks, reliable | More costly than tape/putty |
Known pipe size, visible crack |
|
Section Replacement |
Permanent solution | Labor-intensive, may need wall cutting | Major burst, old corroded pipe |
|
Pipe Relining |
No-dig, long-lasting | Higher upfront cost, tech needed |
Hard-to-access pipes (sewer, storm) |
In short, remember: you’re not alone. Even I’ve had to pick up the phone in a plumbing panic. It’s way better to pay the pros than to spend days with a bucket under a leak and end up with moldy walls (or voided insurance). The licensed plumber has tools I don’t , plus the know-how to spot hidden damage. Trust me, a pro fix is worth its weight in gold when it saves your ceiling from collapsing.
4. Tech-Savvy Fixes: Pipe Relining & Advanced Repairs
If you do call a plumber, you might hear about pipe relining services, a modern “no dig” fix. Pipe relining injects a resin liner into the old pipe, creating a new inner pipe. It’s like giving your burst pipeline a new coat of armor from the inside out.
Why consider relining? It’s less disruptive: no trench in the yard or wall to replace that section, making it a great option for busted water pipe repair. Costs can vary, but in Australia pipe relining often runs about $400–$1000 per meter. Some reports say it’s typically 30–60% cheaper than traditional replacement because you save on excavation and restoration. Plus, relined pipes often come with long guarantees (20–50 years).
Of course, relining isn’t for every burst. It requires special gear. It’s popular for sewer and stormwater lines, especially older clay or concrete pipes that have many cracks.
If your busted pipe is under the slab or beyond reach, relining could be the answer. Ask a local specialist about “drain relining” or “no-dig pipe repair” for commercial plumbing or big residential jobs.
Otherwise, a plumber might simply cut out the broken section and solder or clamp in a new piece of pipe. For a copper pipe, this could mean cutting the damaged part and joining fresh copper with fittings. For PVC/PEX, you’d use couplings or push-fit connectors. This busted water pipe repair is a solid permanent fix, though it can be messy if the pipe is behind a wall or under a floor—expect a bit of demo or ceiling patching.
Another tip: whenever you have plumbing guys at your door, check your hot water heater. Many plumbers can replace or service water heaters on the spot. In Tassie, like-for-like hot water replacements don’t need a permit but do require a licensed plumber. If your water is rusty or the heater is old, you might as well kill two birds: fix the leak and upgrade the heater. After all, one busted supply line could mean it’s time for a new hot water unit.
Lastly, inquire about ongoing protections: some plumbing companies offer annual inspections, leak monitoring or even commercial-grade insurance-backed warranties. Having a trusted commercial plumbing service on speed dial means big facilities or multiple-house situations get handled swiftly too but even homeowners can benefit from knowing professional 24/7 services exist if things go south.
5. Drips, Showers & Faucets—Little Leaks, Big Annoyance
Not all water dramas come from a full-blown pipe gusher. Maybe you’ve got a dripping faucet that’s been driving you nuts or a leaking showerhead that’s slowly dripping into the tub. While not as explosive as a burst pipe, these bugs can waste hundreds of liters and annoy the heck out of you.
The good news is some of these smaller leaks are easy fixes you can try in your toolbelt time. As one expert says, busted water pipe repair“You can also replace a showerhead or tap washer to fix that small leak. Fine.”
In plain speak: yes, you can often tackle that pesky faucet drip. First, shut off the water supply to that fixture, which is usually located under the sink or at a local valve. Then, disassemble the tap or shower mixer: typically there’s a decorative cap hiding a screw on the handle. Remove it, take off the handle, and you’ll see a cartridge or valve stem held by a nut.
Inspect the O-ring or washer in there. Often drips are caused by worn rubber washers or seals. Replace those (they’re cheap at any hardware store) and reassemble. A bit of plumber’s grease on the O-rings can help them seal. Turn the water back on: if it still drips, you might need a whole new cartridge. These are usually model-specific, so take the old one to the store.
For a leaking showerhead, sediment can build up, or the rubber seal where the head meets the arm can fail. Unscrew the showerhead, clean out any gunk, and wrap some plumber’s Teflon tape on the threads before reattaching.
If it’s still leaking from the head, there’s likely a crack or worn washer inside, so replace the old shower head (you can get a decent one for $20–$50). For more serious issues, such as persistent leaks in the plumbing behind the wall, you may need a busted water pipe repair.
Little leaks like these can turn into big moldy headaches if ignored, so don’t shrug them off. But the key is, they’re usually on the DIY-friendly list, no licensed plumber is needed unless you’re uncomfortable. Just be sure to tighten fittings carefully (don’t go Hulk on it) to avoid cracking fittings.
And while we’re on small jobs, don’t forget garden hoses and outside taps. A worn washer in a garden tap can drip endlessly after a rain. Most hoses have replaceable washers too. Buying a pack of assorted hose washers can save a lot of drip-drip annoyance.
In short, I encourage you: if it’s a simple dripping tap or a loose showerhead, give it a quick fix. You’ll save water and feel that DIY victory (plus it won’t blow anyone’s mind because, hey, you just saved them money and fuss).
6. Clean Up & Dry Out: Stop Mold Before It Starts
We’ve talked about patches and plumbers, but what about the aftermath? Floods and leaks can soak into walls, floors and furniture. Left damp, they invite mould which in Tasmania’s humid spots can flourish within 48 hours. And mould is not only ugly; it’s a health hazard (think sneezing, asthma triggers, and toxic black mould nightmares).
So after the busted water pipe repair, turn your attention to drying. Use every towel and mop at your disposal. If you can, rent or buy heavy-duty fans or a dehumidifier—yeah, that’s not overkill if your living area flooded. Aim ventilation at the wet spots. Prop up wet carpets and padding so air can get under them. Pull down any soggy ceiling tiles or insulation to let them dry.
While drying, keep the area as bright and airy as possible. Sunlight and fresh air are natural anti-mold agents. If you see any grey-green mold starting to form on surfaces, tackle it right away with a bleach solution. For serious water damage or Water Leaks and Plumbing Emergencies, it’s best to call a water damage restoration service; they have gear like thermal imaging cameras and industrial dryers that beat any home fan.
One more tip: check your insurance. Some policies cover sudden burst pipes, while others do not cover gradual leaks. It varies. If the water damage is extensive, call your insurer early, even if you’ve DIY’ed the fix. Having a plumber’s invoice can help your claim.
Conclusion: Quick Action Keeps Chaos at Bay
Let’s wrap it up: a busted water pipe repair is all about speed and smarts. Stop the water, shut off power, and patch the leak as best you can. Next, weigh your repair options. Minor leaks and drips? Try the simple fixes yourself (hose washers, O-rings, plumber’s tape). Big breaks or main line hits? Get that licensed plumber on speed dial. Remember the hidden hazards: electricity in metal pipes, mold lurking in damp walls, and insurance rules about who’s allowed to touch the pipes.
Above all, stay calm and act fast. Even a tiny drip can become a monster if you snooze on it. If you found these tips helpful, why not help a mate by sharing this post? Got a horror (or triumph) story of a busted pipe? Drop a comment below, and let’s swap war stories. And if you ever need a pro in Tassie, remember: a licensed emergency plumber is just a phone call away to keep your house dry. After all, no one ever wrote a ballad about a happy leak let’s keep it that way.
FAQs
-
What’s the first thing I should do if a pipe bursts?
First, shut off the main water valve immediately (usually under the sink or near the water meter). Then turn off electricity in the wet area to prevent shocks. Finally, drain faucets to stop the leak.
-
Can I fix a burst pipe myself until help arrives?
Yes, for a short time. You can use epoxy putty, self-fusing silicone tape, or wrap a rubber patch (like a hose) around the hole and tighten a clamp. These quick fixes can stop a small leak temporarily, but check often.
-
Is pipe relining really worth it?
Pipe relining is a long-term “no-dig” fix where a new liner coats the inside of the pipe. It’s expensive upfront (~$400–$1,000/m), but avoids digging up your yard. For old underground pipes, it can save 30-60% over excavation.
-
What about a dripping faucet or leaking shower?
Those are usually DIY jobs. A dripping tap often means a worn washer or cartridge – replace it (after shutting off the tap’s water supply). A leaky showerhead might just need a new O-ring or some plumbers’ tape on the threads.
-
Will home insurance cover a burst pipe?
Many Aussie home policies cover sudden burst pipes, but not gradual leaks. Importantly, insurers require a licensed plumber did the repair. DIY fixes can void claims. Check your policy and keep invoices from your plumber or the repair kit you used.